Project: Plexamp and MangoDisplay in one!
I've written before about what I call the Adafruit Problem, the over-crowded field of potential projects that feel overwhelming and sometimes stop me from doing anything.
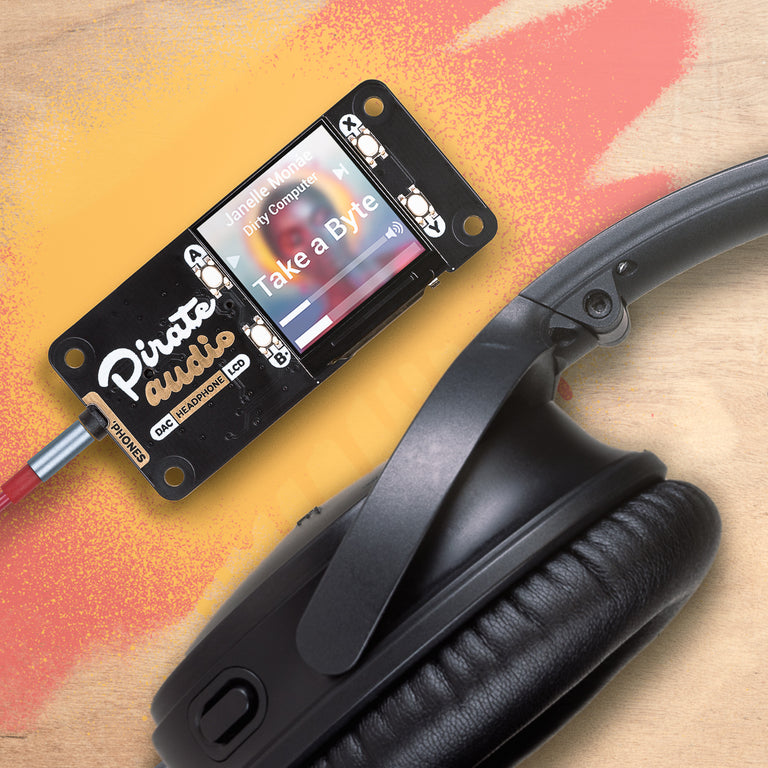
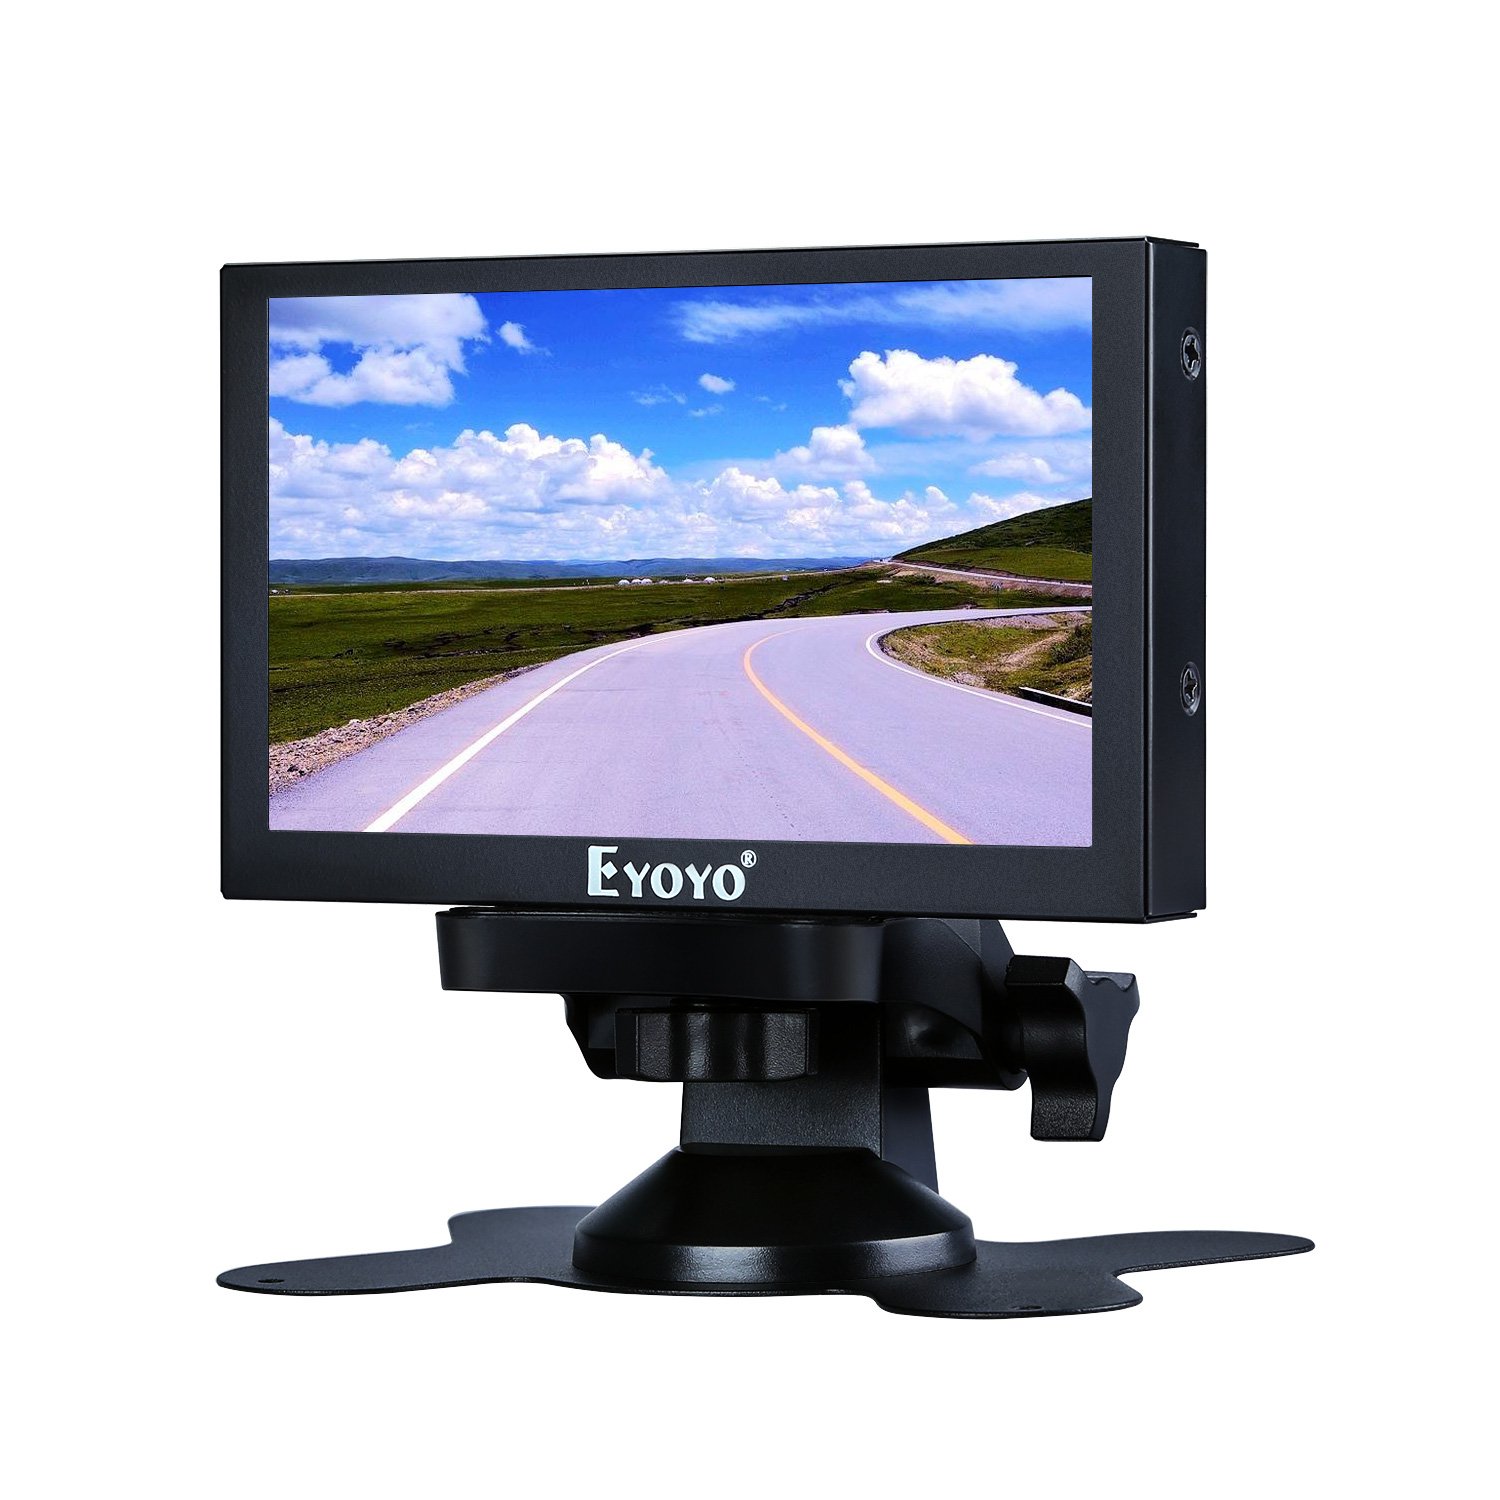
So let's look at the other side of this: Projects I've started but scrapped for various reasons. The other day I looked at the bits and pieces I have laying around from various hardware projects. And I found the following available: – A Raspberry Pi 400 (the one with the keyboard) – A Pimoroni Headphone “HAT” – A 6-inch monitor
And I thought to myself “self, I could leave all these things on the shelf, gathering dust, or I could actually use them, even if my use case is suboptimal.”
The Bits and Bobs:

And the use I had in mind really is suboptimal. I don't need the keyboard on the 400. I don't want to use the little screen on the Pirate Audio, and this is prbably a waste of a monitor. But again, they've been doing nothing for a long time.
The Use
I'm a huge fan of Plex and Plexamp. I've known for a while that you could set up a “headless” Plexamp device, that can be controlled from any of your other Plexamp installs.
 When it works it is pretty cool! So I decided to set this up. It doesn't use the little screen on the Pirate Audio HAT, but I can be okay with that. It doesn't use the keyboard because I'm going to be interacting with the device “headlessly” but it's been impossible to find a 64-bit Raspberry Pi for years now, so I'll use what I have.
But that monitor needs a use too! So I decided to use MangoDisplay, since my family is already using this to set up a schedule board so we can keep the whole family on the same page in terms of calendars. All I'd need to do is make the Raspberry Pi into a “kiosk” which is like, baby stuff, right?
I could hear my subconscious laughing at me, but I forged on, ignoring it.
Steps
- Flash an SD Card with the latest version of Raspbian.
- Install Plexamp
- Make sure the audio all goes through the Pirate Audio, since it has a DAC and I like to pretend I can tell the difference.
- Set up Chromium to automatically start when the Raspberry Pi boots
- Start up in “kiosk” mode, AKA full screen with no tool bars or notifications or anything
- hide the cursor
First Setup
Step 1 was easy. the Raspberry Pi foundation has their lovely Raspberry Pi Imager Tool that takes all the hard parts out of creating RaspbianOS images, and keeps getting better. These days you can set up all the basics, like: – Set a hostname – Set up the user/password for the main user * Enable SSH * Set up SSH to only allow key-based login ✅ * Set up network access
It's such a vast improvement on the process you used to have to go through to set up a new Raspberry pi. These days your system will start up on its first time, fully ready for you to access it via SSH, named and ready to go. LOVE IT.
Install Plexamp
I fumbled around a bit here, but then I found an amazing script that auto-installs all the dependencies and then downloads and installs Plexamp. After reading the script closely (never run unknown scripts!) I decided to go for it. It worked beautifully. I then tested the audio; it took a few tries to get the device to stop trying to use HDMI audio, but that was easy as well.
So we're through steps 1-3 now. We were at the easy part, right? Everyone uses Raspberry Pi's as kiosks, there's a million tutorials out there. I'm on the home stretch, right?
Cue evil laughter.
Kiosk Mode
Hey guess what! The latest (October 2023) version of Raspbian has switched to the theoretically much better Wayland compositing system, instead of using the old X11 display manager. Who cares?
Well, anyone who is trying to use unclutter to hide a mouse cursor. They care. Sure, Unclutter has been more or less unchanged since the late 1990s, but that's because it freaking works. Unless you're using Wayland, that is. It doesn't do anything under Wayland.
So I could have set my Raspberry Pi to use X11 instead of Wayland, but I am made of sterner stuff than this. Wayland is not exactly new, it's at least 5 years old. Surely there is a Wayland version of Unclutter.
Cue Evil Laughter. Again.
The next bulleted list should be read as a montage, spread out over about five freaking hours, and each step comes from doing a LOT of reading on various forums and websites written by people who have the same problem.
– Try using programmatic tools to move the mouse off the screen ❌
– Try deleting the icon that the OS uses for the cursor ❌
– Try setting up a CSS stylesheet that will be auto-loaded and hide the cursor using body:{cursor:none} ❌
– Take a break to help my wife with a computer problem she was having that is its own giant pile of stressful workarounds. 🤯
– Look for a Chromium plugin that will hide the cursor ❌
– Find a Chromium plugin that will let me define my own cursor... ✅🎉😆
– I hate this version. I really really do. But I used Custom Cursor to define my own cursor. It's a 128x128 pixel transparent gif with a single light gray pixel, set to 99% transparency. Since it is technically visible the program accepts that as the cursor.
So...there you have it. After that all that was left to do was clean up the OS and set it to use a read-only filesystem to avoid corruption of the SD card.